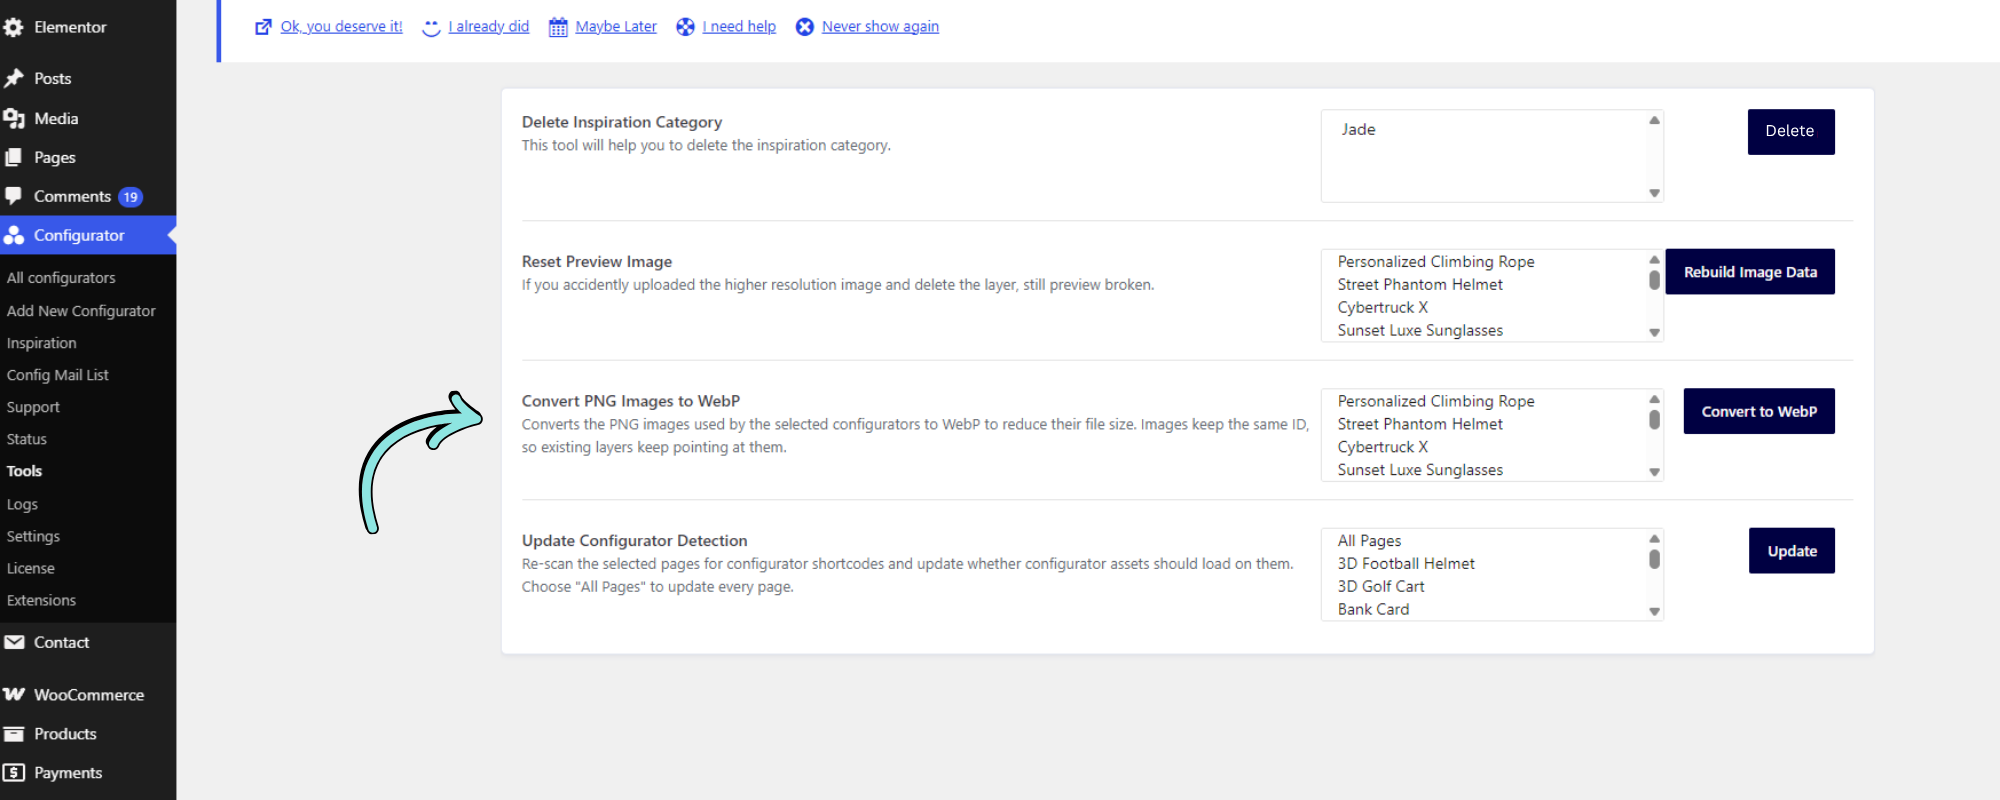
The Convert PNG Images to WebP tool allows you to convert PNG images used by your WP Configurator setups into the WebP format.
WebP images can help reduce image file size and improve website performance. When using the conversion tool, the existing image IDs are retained, so configurator layers can continue pointing to the same images.
There are two ways to convert PNG images to WebP:
Convert PNG images from an existing configurator using the Tools page.
Automatically convert PNG images when uploading them directly through the Configurator Editor.
WebP Quality
Before converting PNG images to WebP, you can control the quality of the converted images from the WP Configurator settings.
How to Set WebP Quality
Go to Configurator → Settings from your WordPress dashboard.
Open the General settings.
Expand the Optimization section.
Locate WebP Quality.
Enter a value between 1 and 100.
Click Save settings.
The default WebP quality is 80, which provides a good balance between image quality and file size.
Recommended quality:75–85
Higher values produce better image quality but result in larger file sizes.
Lower values produce smaller file sizes but may result in more visible compression.
Tip: A value around 80 is recommended for most configurators as it provides a good balance between visual quality and image file size.
Method 1: Convert PNG Images of an Existing Configurator to WebP
Use this method when you already have PNG images assigned to an existing configurator and want to convert them to WebP.
Steps
Go to Configurator → Tools from your WordPress dashboard.
Locate Convert PNG Images to WebP.
Select the configurator whose PNG images you want to convert.
Click Convert to WebP.
A confirmation message will appear informing you that the PNG images will be permanently converted to WebP and the original PNG files will be deleted.
Make sure you have a backup before proceeding.
Click OK to continue with the conversion.
Important: The conversion is irreversible. The original PNG images are permanently deleted after conversion. Always take a complete backup of your website before converting PNG images to WebP.
Note: The existing image IDs remain unchanged after conversion, allowing configurator layers that reference these images to continue working.
Method 2: Automatically Convert PNG Images When Uploading Through the Editor
WP Configurator can automatically convert a PNG image to WebP when you upload the image directly through the Configurator Editor.
Steps
Open the desired configurator in the Configurator Editor.
Add or edit the layer where you want to use the image.
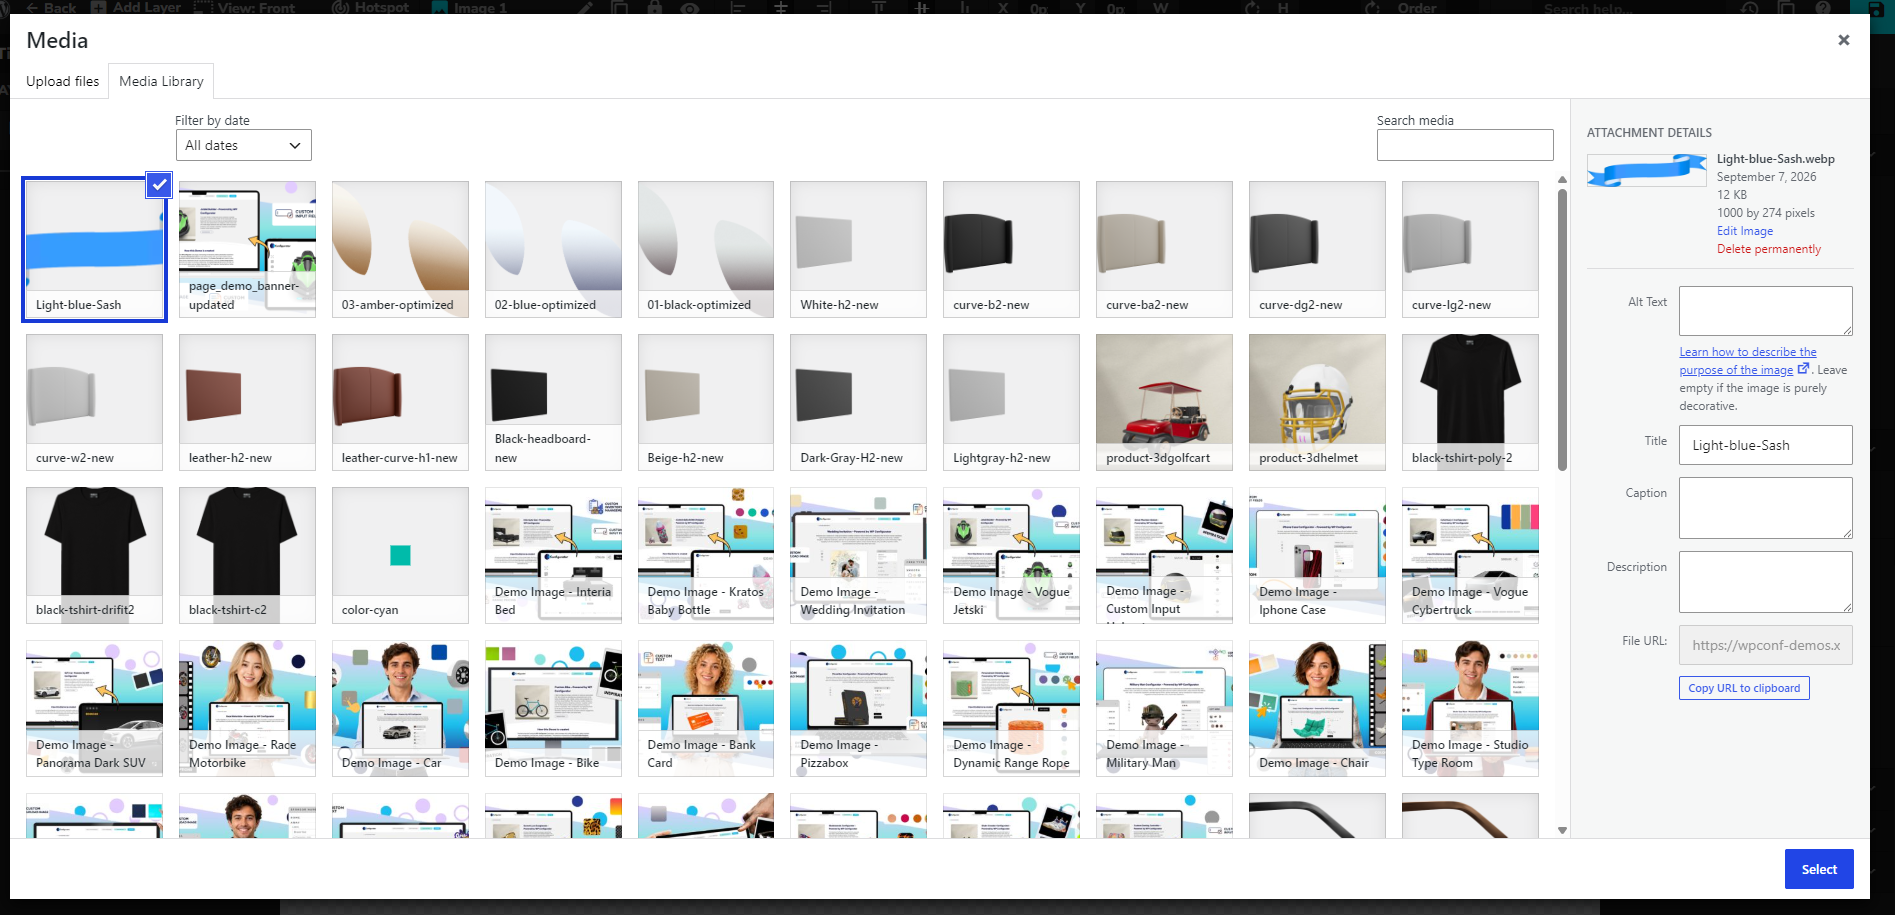
Upload a PNG image directly through the editor.
WP Configurator will automatically convert the uploaded PNG image to WebP.
The converted image can then be used in your configurator.
The conversion uses the WebP Quality value configured under:
Configurator → Settings → General → Optimization → WebP Quality
Note: PNG images uploaded directly through the WordPress Media Library are not automatically converted to WebP. To trigger automatic WebP conversion, upload the PNG image directly through the WP Configurator Editor.
Important: Back Up Before Converting
The PNG-to-WebP conversion performed through the Convert to WebP tool is permanent and cannot be reversed because the original PNG images are deleted.
Before using the conversion tool:
Create a backup of your website.
Make sure you are satisfied with the selected WebP Quality setting.
Verify that the selected configurators are correct before clicking OK in the confirmation dialog.
If you need to retain the original PNG files, make sure they are backed up separately before performing the conversion.