This guide explains how to safely override any Configurator HTML template using your WordPress child theme.
You can use this method whenever you need to:
- Modify layout structure
- Add custom HTML
- Insert buttons or links
- Adjust markup
- Customize any skin output
This is a reusable process for all template modifications.
Why Use Template Override?
Configurator templates are loaded from the plugin directory.
If you edit plugin files directly:
- Your changes will be lost after plugin updates.
- It is not update-safe.
The correct way is to override the template inside your child theme.
This ensures:
- Update-safe customization
- Clean structure
- Maintainability
This applies to configurators connected with WooCommerce products.
Step 1: Create a Child Theme (If Not Already Created)
A child theme protects your custom modifications from being lost when the parent theme receives updates.
There are two ways to create a child theme:
Option A: Create It Manually
You can create a child theme manually by:
- Navigating to your WordPress installation folder
- Going to
/wp-content/themes/ - Creating a new folder for your child theme
- Adding the required
style.cssandfunctions.phpfiles
Alternatively, if a child theme already exists, you can manage it via:
Appearance → Theme File Editor → Select Child Theme
After creation, make sure the child theme is activated under:
Appearance → Themes
Option B: Use a Plugin (Recommended for Beginners)
For a simpler approach, install and activate the Child Theme Configurator plugin from the WordPress Plugin Directory.
The plugin provides a step-by-step setup wizard that allows you to generate and activate a child theme in just a few clicks.
Step 2: Locate the Template File in the Plugin
Go to your plugin folder:
wp-content/plugins/wp-configurator-pro/
Inside the plugin, locate the template file you want to modify.
You must copy the correct file.
Step 3: Copy the File
Copy the original template file from the plugin directory.
Do NOT modify it inside the plugin.
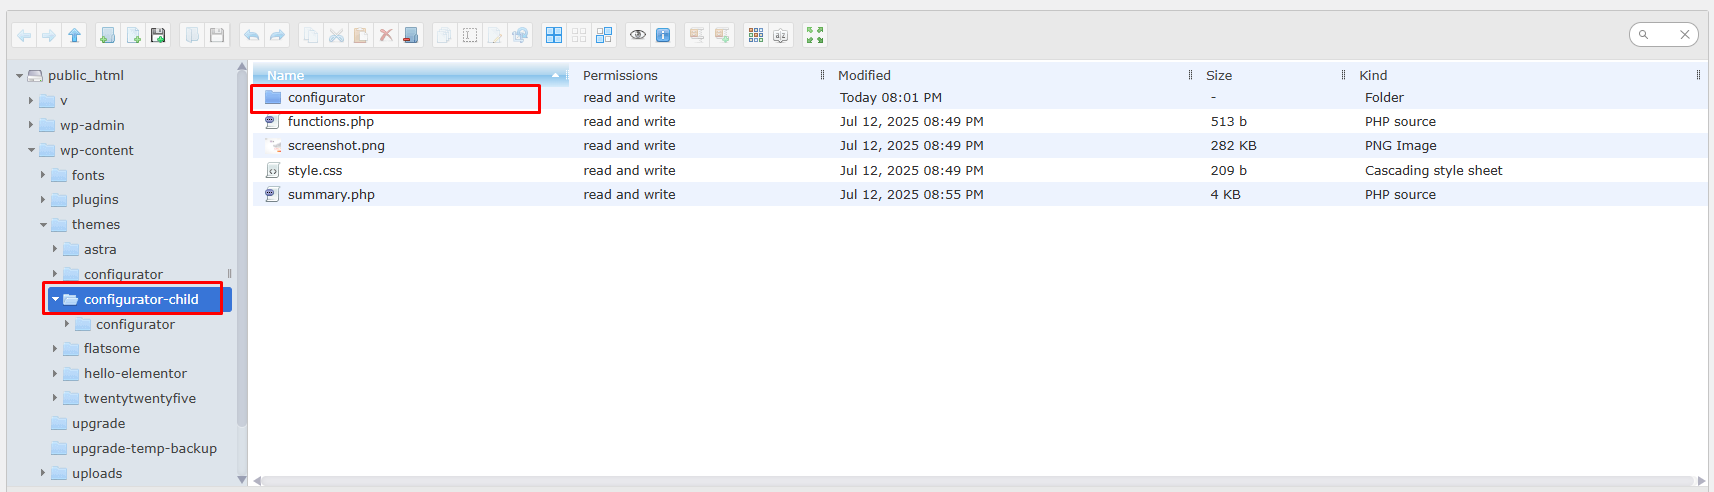
Step 4: Create “configurator” Folder in Child Theme
Inside your active child theme, create a folder named:
configurator
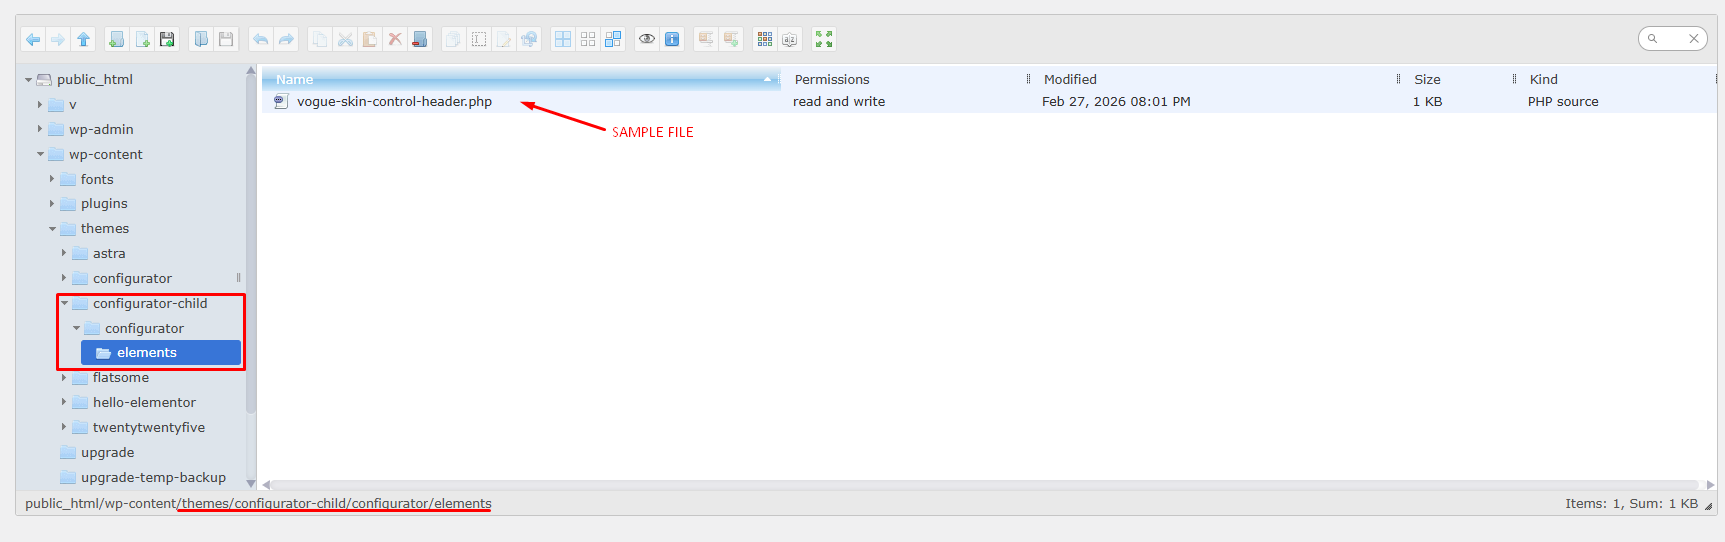
If the original file was inside a subfolder (example: elements), you must recreate the exact same folder structure.
Step 5: Maintain the Exact Path (Very Important)
The folder structure inside the child theme must match the plugin path exactly.
For example:
If the plugin file is located at:
Plugin:
wp-configurator-pro/configurator/elements/header.php
Then inside your child theme it must look like:
Child Theme:
/wp-content/themes/your-theme-child/configurator/elements/header.php
If the path does not match exactly:
The override will NOT work.
Step 6: Modify the File Inside the Child Theme
Once the file is copied into the correct location:
- Open the file inside your child theme
- Make your HTML or PHP changes
- Save the file
The system will now load the template from your child theme instead of the plugin.