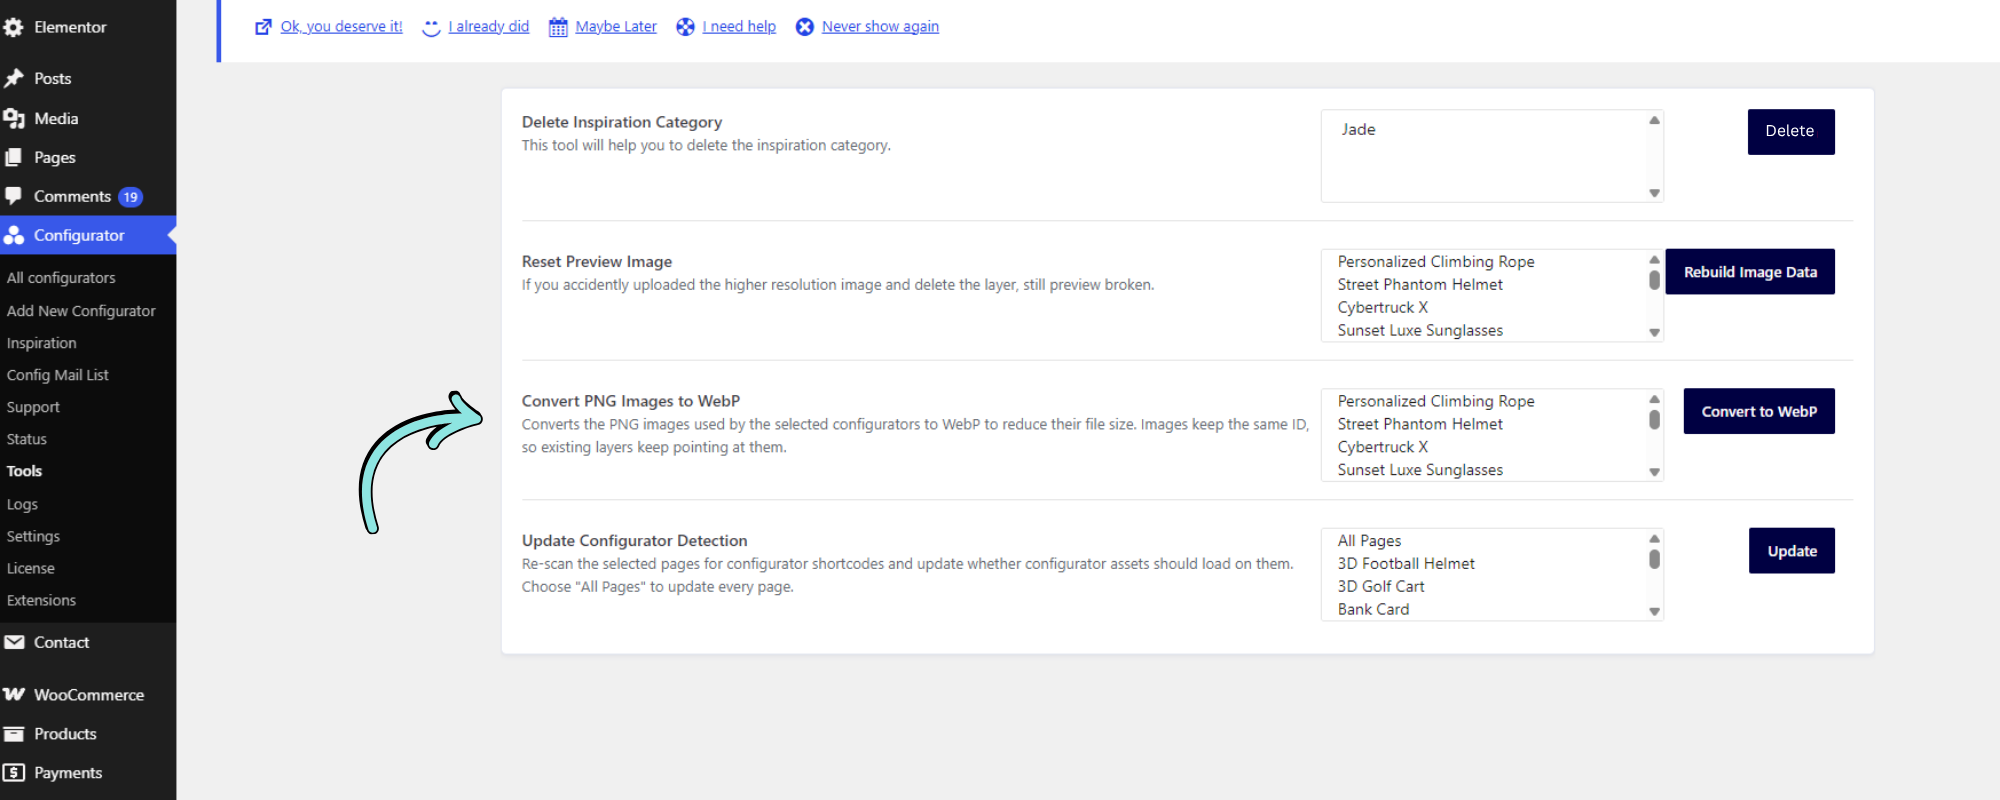
WebP images generally have a smaller file size than PNG images, which can help reduce image size and improve website performance. When using this tool, the existing image IDs are retained, so your configurator layers can continue pointing to the same images.
There are two ways to convert PNG images to WebP:
Convert PNG images from an existing configurator using the Tools page.
Automatically convert PNG images when uploading them directly through the Configurator Editor.
Method 1: Convert PNG Images of an Existing Configurator to WebP
Use this method when you already have PNG images assigned to an existing configurator and want to convert them to WebP.
Steps
From your WordPress dashboard, go to Configurator → Tools.
Locate Convert PNG Images to WebP.
Select the configurator whose PNG images you want to convert. You can select multiple configurators if needed.
Click Convert to WebP.
Wait for the conversion process to complete.
The PNG images used by the selected configurator(s) will be converted to WebP format.
Note: The existing image IDs remain unchanged after conversion. This means that layers already using these images will continue pointing to the same image IDs.
Method 2: Automatically Convert PNG Images When Uploading Through the Editor
WP Configurator can automatically convert a PNG image to WebP when you upload the image directly through the Configurator Editor.
Steps
Open the desired configurator in the Configurator Editor.
Add or edit the layer where you want to use the image.
Upload a PNG image directly through the editor.
WP Configurator will automatically convert the uploaded PNG image to WebP.
The converted image can then be used by the configurator.
Important Note
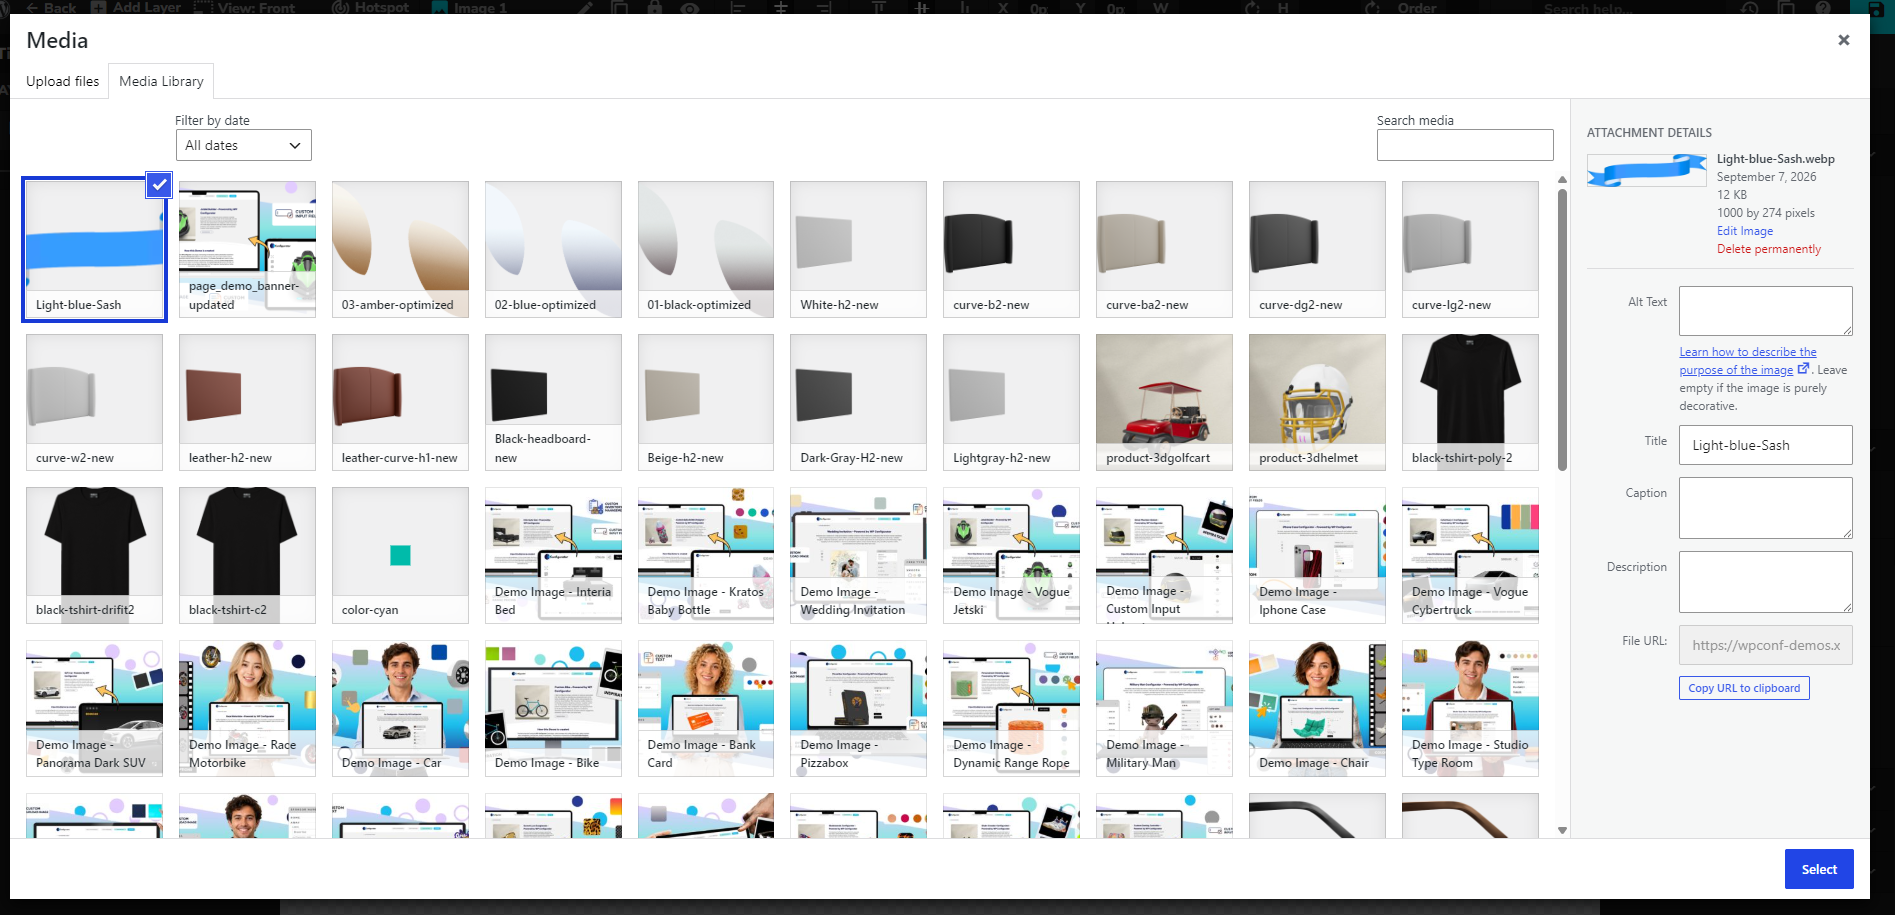
PNG images uploaded directly through the WordPress Media Library are not automatically converted to WebP.
If you upload a PNG through Media → Library first, the image will remain a PNG. To have the image automatically converted to WebP, upload it directly through the WP Configurator Editor.