
This guide explains how to add, manage, and customise widgets within the Furniture Theme — giving you full control over sidebar, footer, and other widget-ready areas of your website.
How to Access the Widget Settings
-
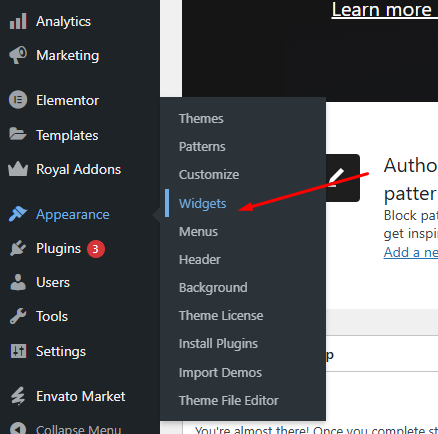
From your WordPress dashboard, go to Appearance → Widgets.
-
Alternatively, navigate to Appearance → Customize → Widgets for a live preview of your changes.
-
In the Customizer, you will see a list of widget-ready areas (e.g., Footer Widgets, Sidebar, Shop Sidebar) where you can add or edit widgets.
Adding and Managing Widgets
-
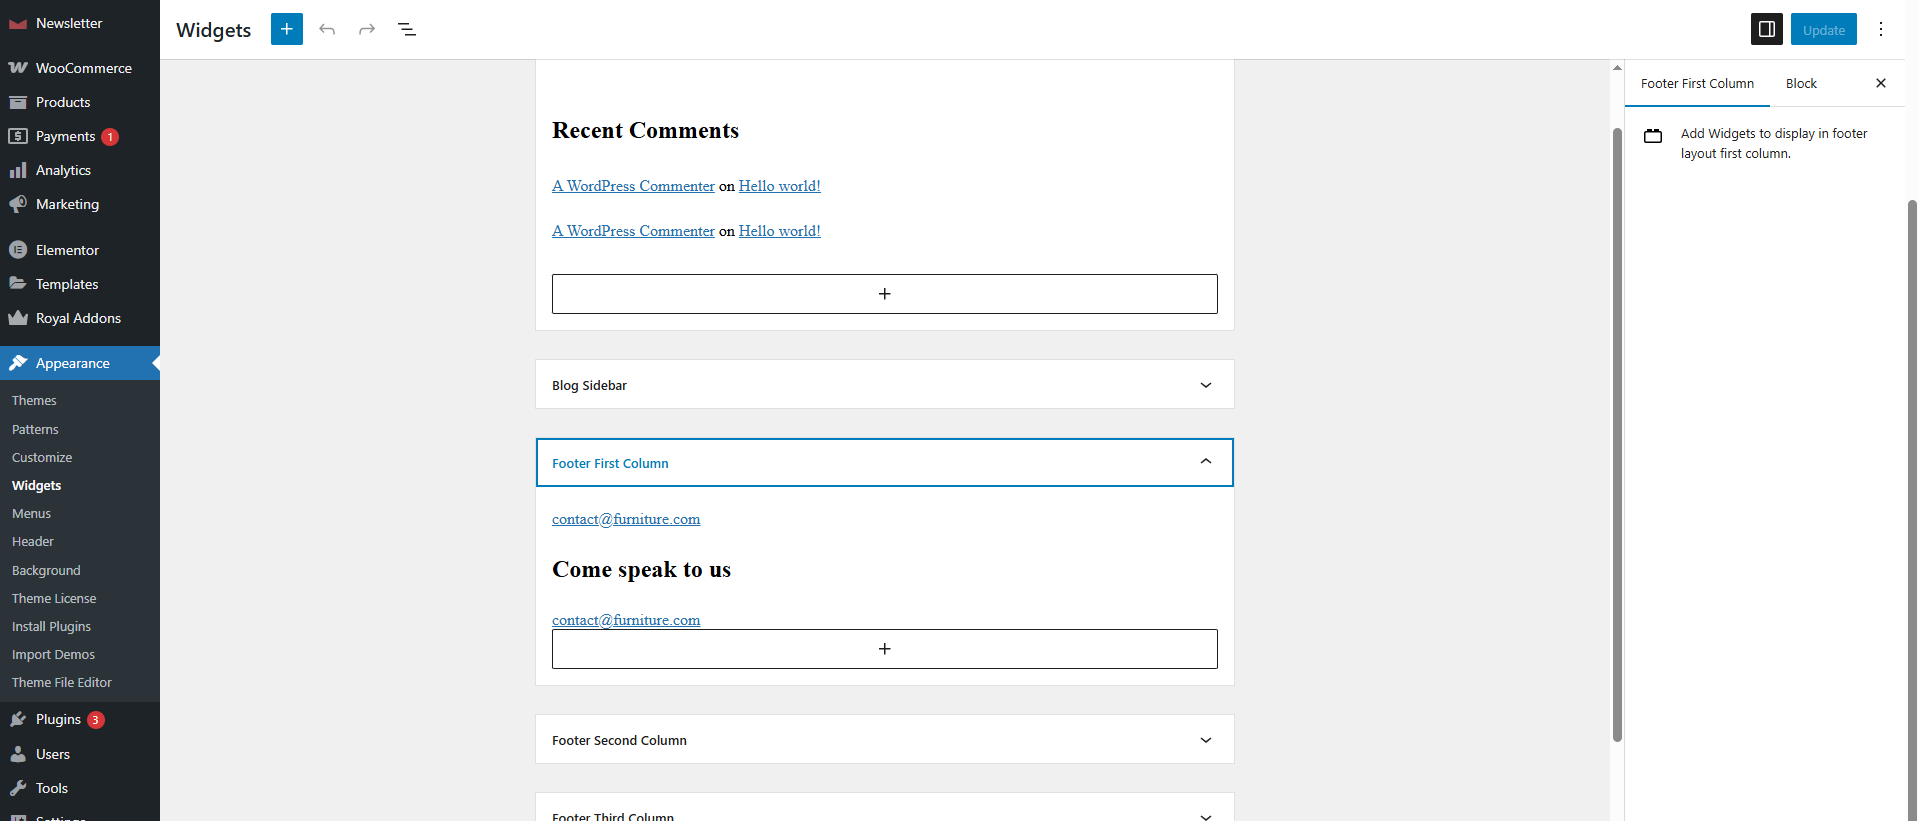
To create a new widget, select the widget area you want to use, then click Add a Widget (in the Customizer) or drag a widget from the Available Widgets panel (in the classic Widgets screen).
-
Choose from widget types such as: Recent Posts, Text/HTML, Custom Menu, Product Categories, or Elementor-provided widgets.
-
After adding, you can reorder widgets via drag-and-drop (or use the “Reorder” link) to define their display sequence.
-
To remove a widget, select it and click Remove (or in Customizer click the “-” icon) — changes apply live or save when you click Publish / Save.
Assigning Widgets to Specific Areas
-
The Furniture Theme supports multiple widget areas such as Footer Column 1, Footer Column 2, Shop Sidebar, and General Sidebar.
-
When editing the Menu in the widget screen, ensure you choose the correct area that aligns with your desired placement (for instance, footer widgets will appear site-wide in the footer section).
-
After placement, check the frontend of your site to confirm the widget appears correctly and functions as expected.