
Selling globally means your customers expect to see prices in their local currency. With WooCommerce Multilingual & Multicurrency (WCML), you can easily configure and manage multiple currencies in your WooCommerce store, creating a seamless shopping experience across different regions.
This guide will walk you through the full setup of multicurrency functionality using WCML in currency-only mode. It’s also fully compatible with WPConfigurator so your customized product prices automatically adjust based on the selected currency, offering a seamless and localized shopping experience.
Let’s get started with configuring your store for multicurrency and maximizing your global sales potential.
Requirements (Currency-Only Mode)
To use WCML for multicurrency support without multilingual translations, you only need:
-
WooCommerce (installed and activated)
-
WooCommerce Multilingual & Multicurrency (WCML)
→ Available from wpml.org
→ Also available from wordpress.org
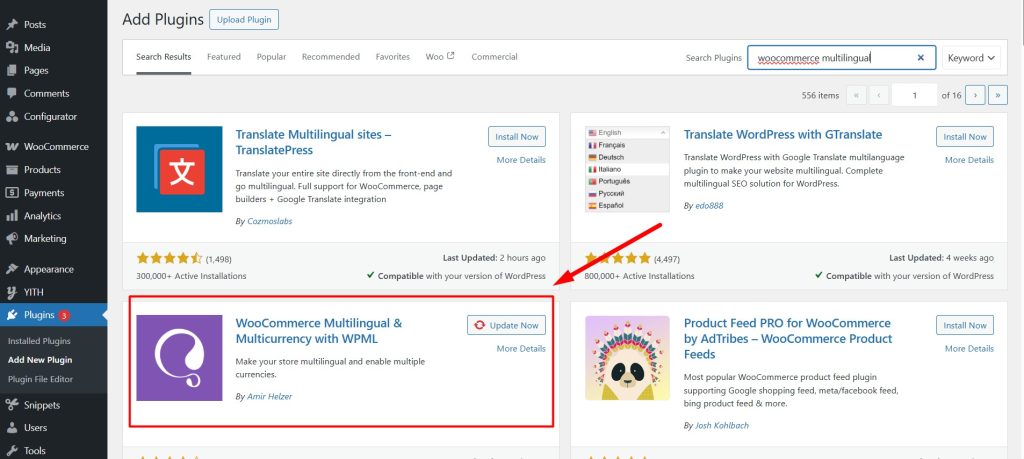
Step 1: Install and Activate WCML
-
-
Go to Plugins → Add New → Search for WooCommerce Multilingual & Multicurrency, install and activate it.
-
Once activated, WCML will detect WooCommerce and enable multicurrency options.
-
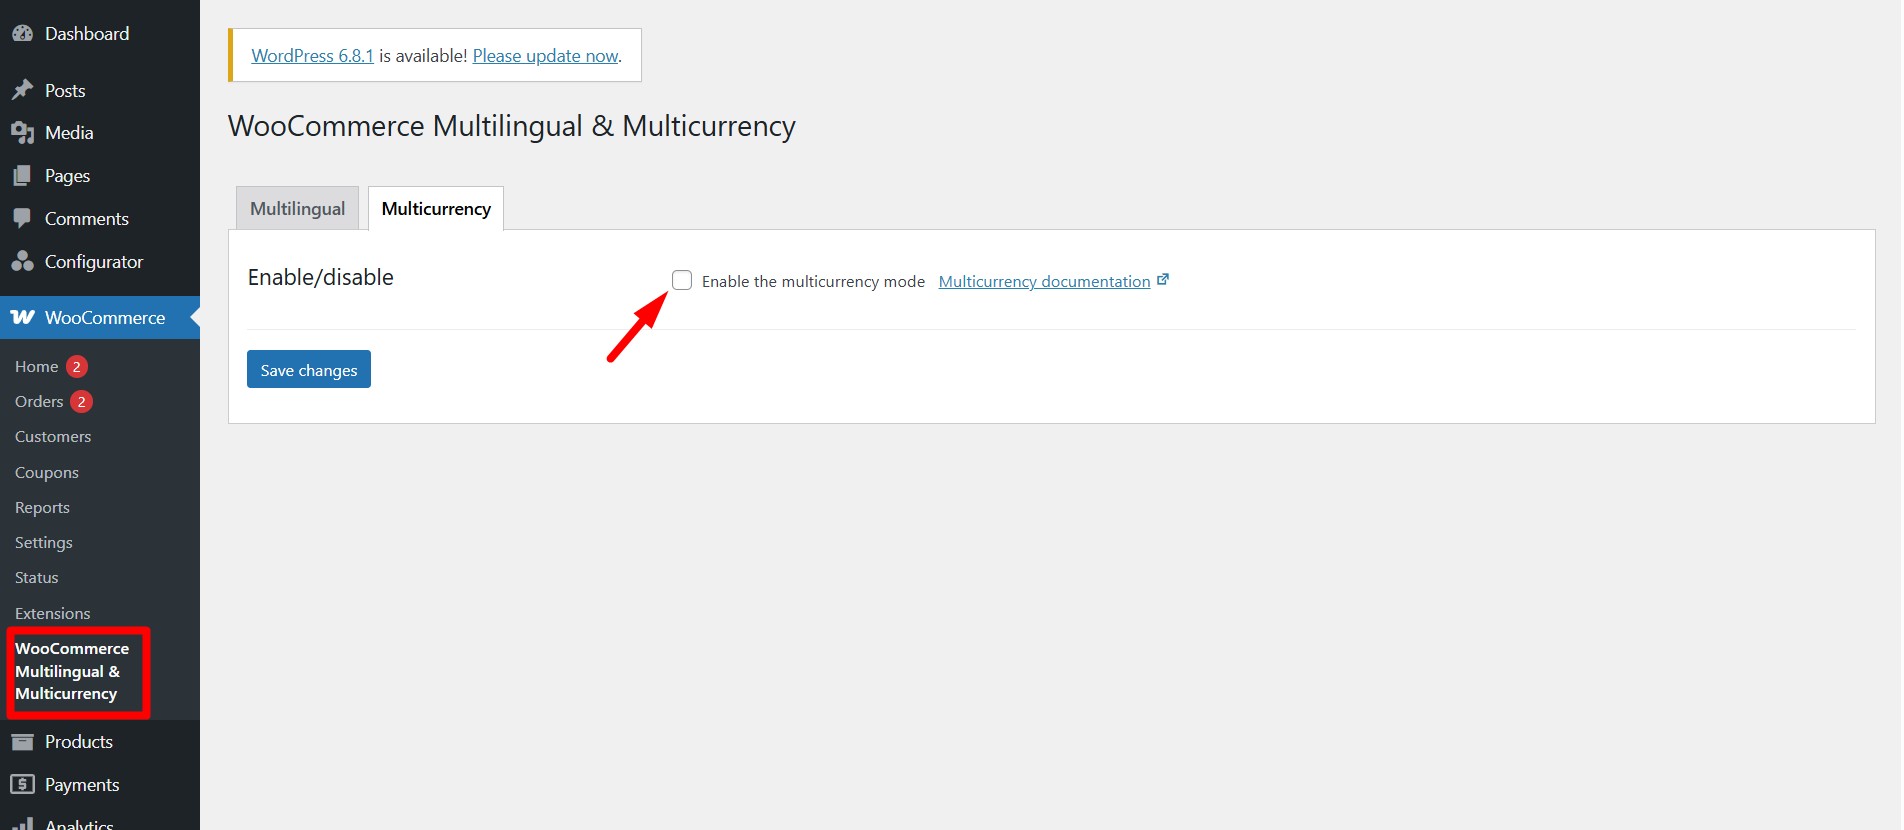
Step 2: Enable Multicurrency
-
Go to WooCommerce → WooCommerce Multilingual & Multicurrency.
-
Click on the Multicurrency tab.
-
Enable Multicurrency mode if it’s not already active.
Step 3: Add and Configure Currencies
-
In the Multicurrency section, click Add currency.
-
Select your desired currency (e.g., USD, EUR, PHP).
-
Configure:
-
Currency symbol
-
Symbol position (left, right, with or without space)
-
Decimal/thousand separators
-
Number of decimals
-
Exchange rate (manual or automatic)
-
💡 Use live exchange rates by connecting a service like Fixer.io or Currency Layer (API key required).

Step 4: Adding Currency Switcher
Once you set up multiple currencies, display a currency switcher in your site’s theme using a widget.
To add a currency switcher as a WordPress classic widget:
- Go to WooCommerce → WooCommerce Multilingual & Multicurrency and click on the Multicurrency tab.
- Scroll to Widget Currency Switcher and add a new currency switcher widget to desired location.

Step 5: Save Changes to apply all settings.
Final Notes
-
You do not need WPML Multilingual CMS for multicurrency.
-
WCML in currency-only mode keeps your store simple but powerful for international selling.
-
You can add translations later if needed—WPML plugins are modular and work well together. Visit our WPML Integration Guide
Resources