
Linked Text is a powerful enhancement over the standard duplicate feature. It allows you to reuse the same text input across multiple text layers while giving you full control over positioning, styling, and visibility.
Overview
The Linked Text feature is designed for scenarios where:
- You need two or more instances of the same text on a product
- Each text instance must appear in different positions or views
- You want to maintain a single text input for easier management
Instead of duplicating text layers and managing them separately, Linked Text keeps everything synchronized while still allowing individual customization.
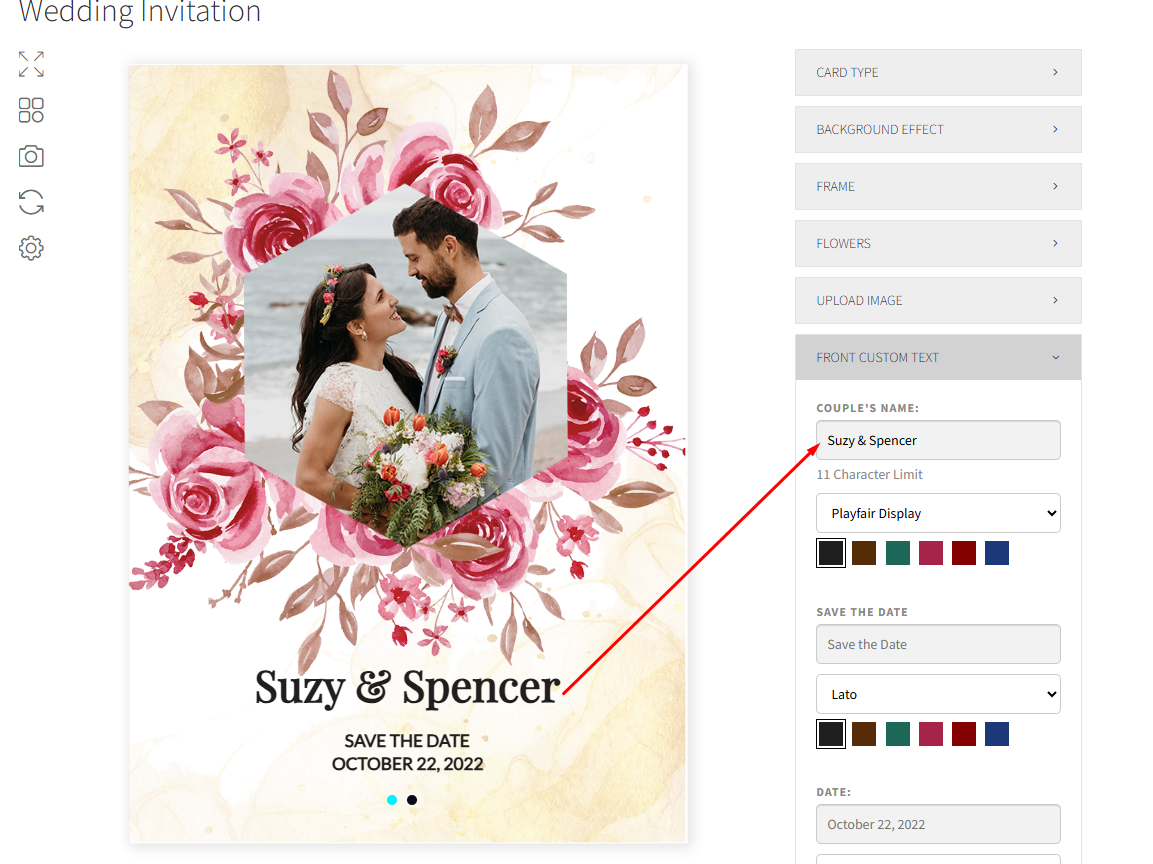
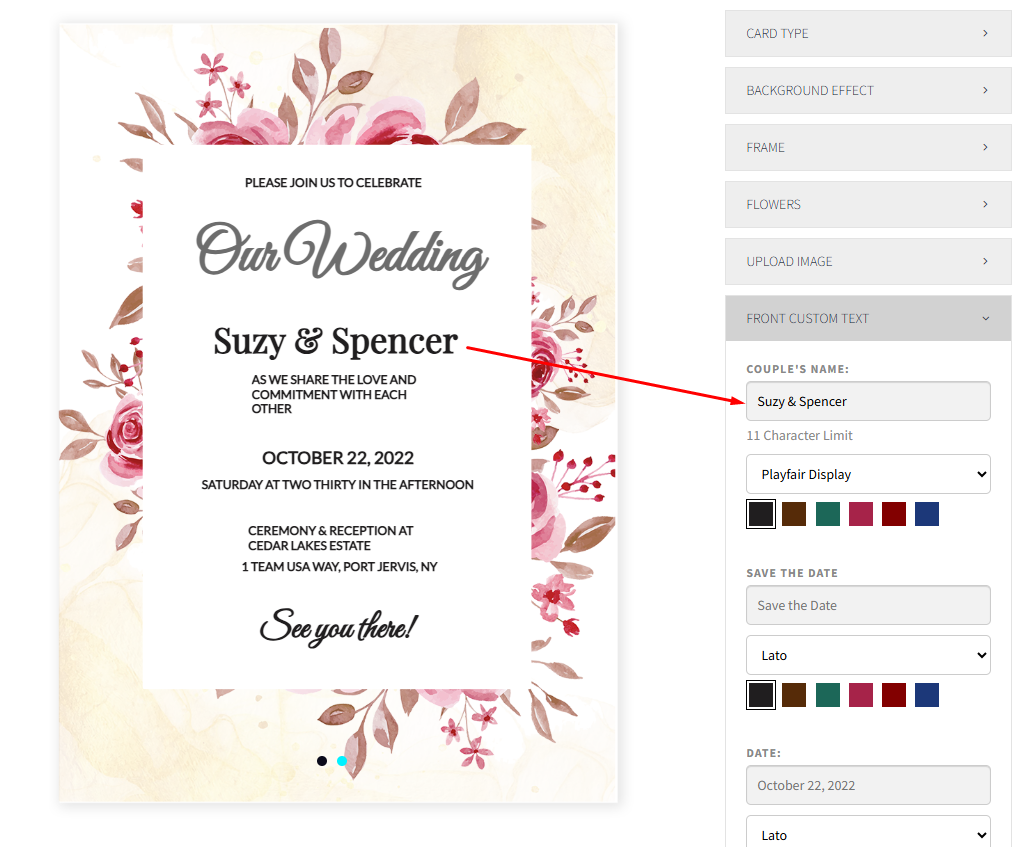
How Linked Text Works
When a text layer is linked:
- Editing the text content updates all linked text layers
- Each linked instance can have its own:
- Position
- View (Front, Back, Side, etc.)
- Typography and styling
This makes Linked Text ideal for complex text layouts.
How to Use Linked Text
Step 1: Add a Custom Text Layer
- Go to WP Configurator → Configurators
- Open your configurator
- Add a Custom Text layer
Step 2: Create or Select a Linked Text Layer
- Select an existing text layer
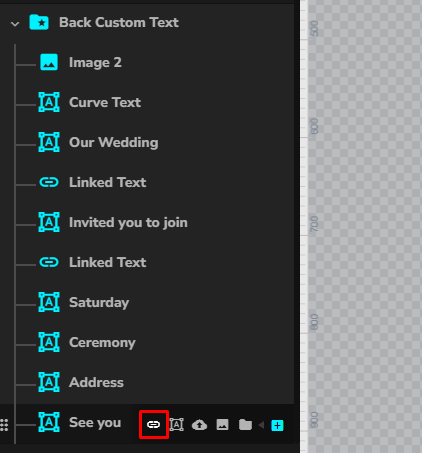
- Click the Link icon to create a linked text instance
This creates another text layer that shares the same text input.
Step 3: Position Linked Text Independently
Each linked text layer can be:
- Moved to a different position
- Assigned to a different view (Front, Back, Side, etc.)
The text content remains synchronized across all linked layers.
Customization Options for Linked Text
Typography
- Font size
- Font weight
- Letter spacing
- Line height
Transform
- Rotation
- Scale
- Positioning
Text Shadow
- Shadow color
- Blur
- Offset
Text Path
- Curve or path-based text
- Path direction and alignment
Allowed Views
- Choose which product views the linked text appears on
- Example: Front view only, or Front and Back views