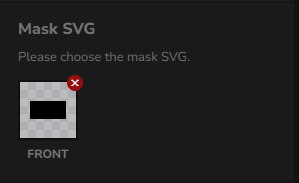
If you want to use the Mask SVG option on the custom image upload add-on, it is recommended to prepare your SVG shape. The Mask helps the user to upload images within the Mask area. For that, you need to upload the SVG file in the mask field. The layer width and height should match the SVG width and height attribute.
How to create an SVG shape file in Figma:
1. Go to https://www.figma.com/ and log in/sign up for your account.
2. Create a New File
3. On Canvas select the Rectangle Tool: On the toolbar on the left, you will see a shape icon (R is the shortcut key for the rectangle). Click on it and select “Rectangle.”
4. Click and drag on the canvas to create a rectangular shape. You can adjust the width, height, and position by either resizing it on the canvas or by entering specific dimensions in the properties panel on the right.
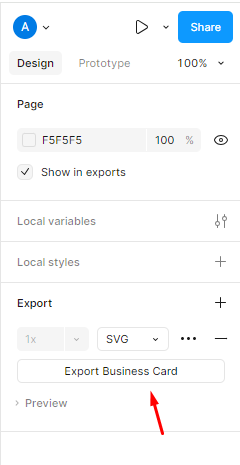
5. Go to the right panel and scroll down to the “Export” section. Click the “+” button in the export section, and select SVG from the format dropdown. Click Export to download the shape as an SVG file.
After exporting the SVG shape file, you might want to think that you can upload it directly to your WordPress media. However, you will encounter an error like this “Sorry, you are not allowed to upload this file type.” if you upload it directly. WordPress restricts certain file types, including SVG files, for security reasons.
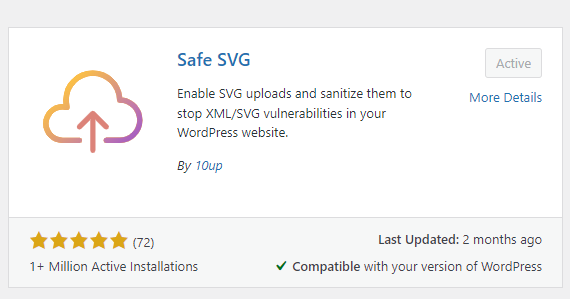
Here’s a simple step to avoid this error. We recommend using a plugin to safely allow SVG uploads, while also sanitizing the SVG to prevent security risks.
How to upload SVG shape file to WordPress Media:
1. Install and Activate the “Safe SVG” plugin

2. After activation, you should now be able to upload your SVG file without the error message.


